This page is part of the MakerScanner series (<< previous in series | next in series >>)
Meshing: taking points to triangles
You can't print points, but you can print triangles. MeshLab will help us take our model there!
If you don't already have MeshLab working and a cleaned model, go to the previous page and follow those instructions.
Opening the file
To mesh, we're going to open our cleaned and exported model in MeshLab. Select File > Open and find your .obj file.
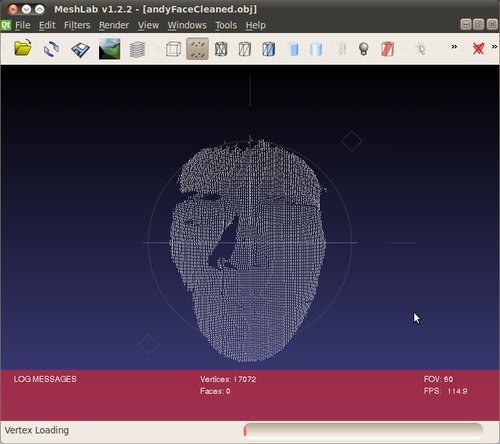
Compute vertex normals
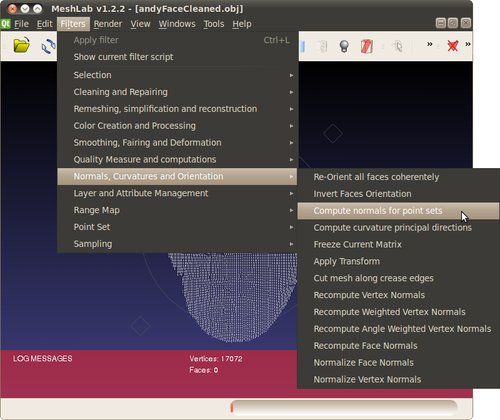
To mesh, we need to know the "vertex normals" for each point, which
helps the meshing algorithm know where to draw triangles. Select Filters > Normals, Curvature, and Orientation > Compute normals for point sets.
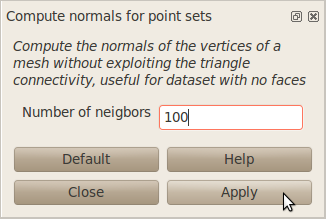
We want very smooth normals, so set Number of Neighbors to around 100.
Select Render > Show Vertex Normal to view the normals.
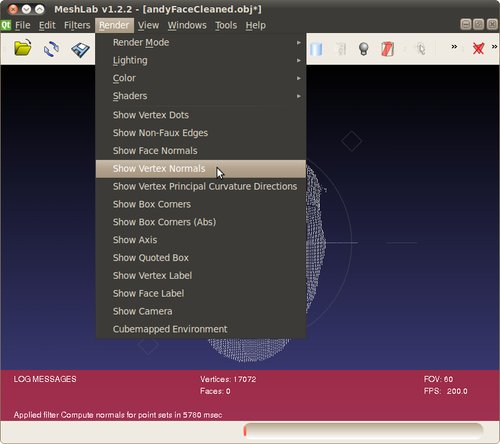
You want to make sure that the "fuzz" is pointing outwards, like a tennis ball.
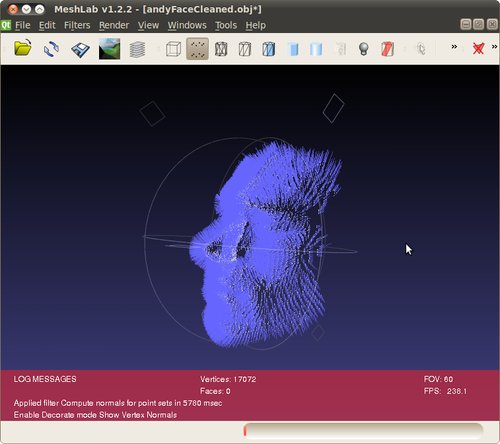
Meshing
With the normals, we are now ready to compute the mesh! Select Filters > Point Set > Poisson Reconstruction.
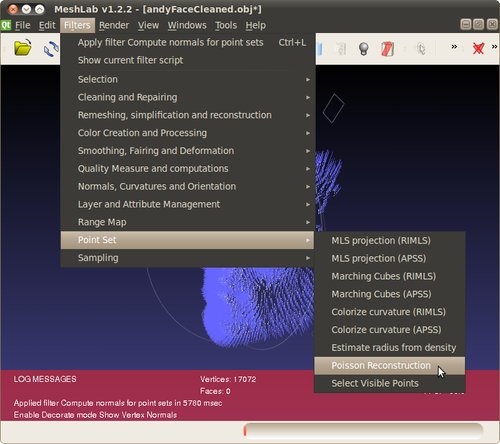
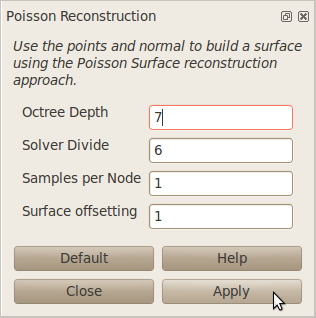
Set the Octree Depth to around 7. A
higher depth will produce high-resolution meshes, but take longer and
sometimes fail to complete. Usually we run one at 6 or 7, make sure it
looks good, and then use 7 or 8 for the final version.
After a few seconds, the solver will finish meshing your file. Some
new points will show up, but to see your mesh you need to change your
view settings. Select Render > Render Mode > Flat Lines.
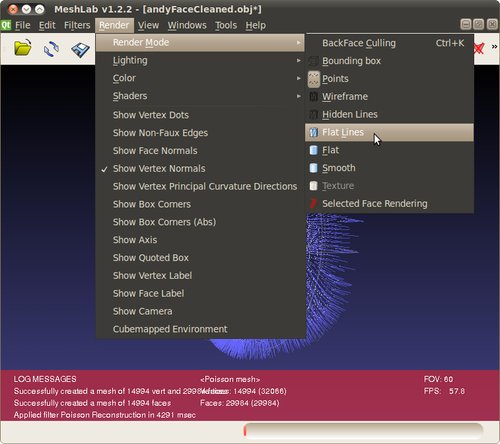

To remove the vertex normal view, un-select Render > Show Vertex Normals.
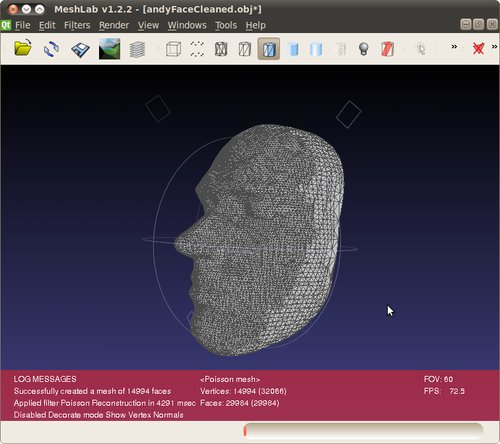
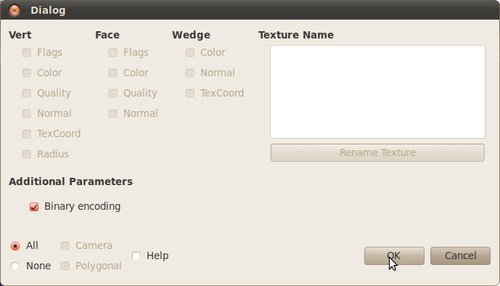
Save the file as a .stl by selecting File > Save and typing in a name with .stl at the end. The default paramters are fine for the STL export.
Now you're almost ready to print! You probably want to add a flat surface to start your print on which is covered in the next page Editing with Blender.
This page is part of the MakerScanner series (<< previous in series | next in series >>)